How to Import 3D Models with UDIM Textures
November 29, 2023
David Lugo
Learn how to import 3D models with UDIM textures in Blender, Maya, C4D, and Unreal Engine.
The ability to integrate high-quality 3D assets into various software applications is crucial. This tutorial offers a comprehensive guide on importing 3D models with UDIM textures into multiple render engines.
What This Tutorial Covers
- Understanding UDIM textures
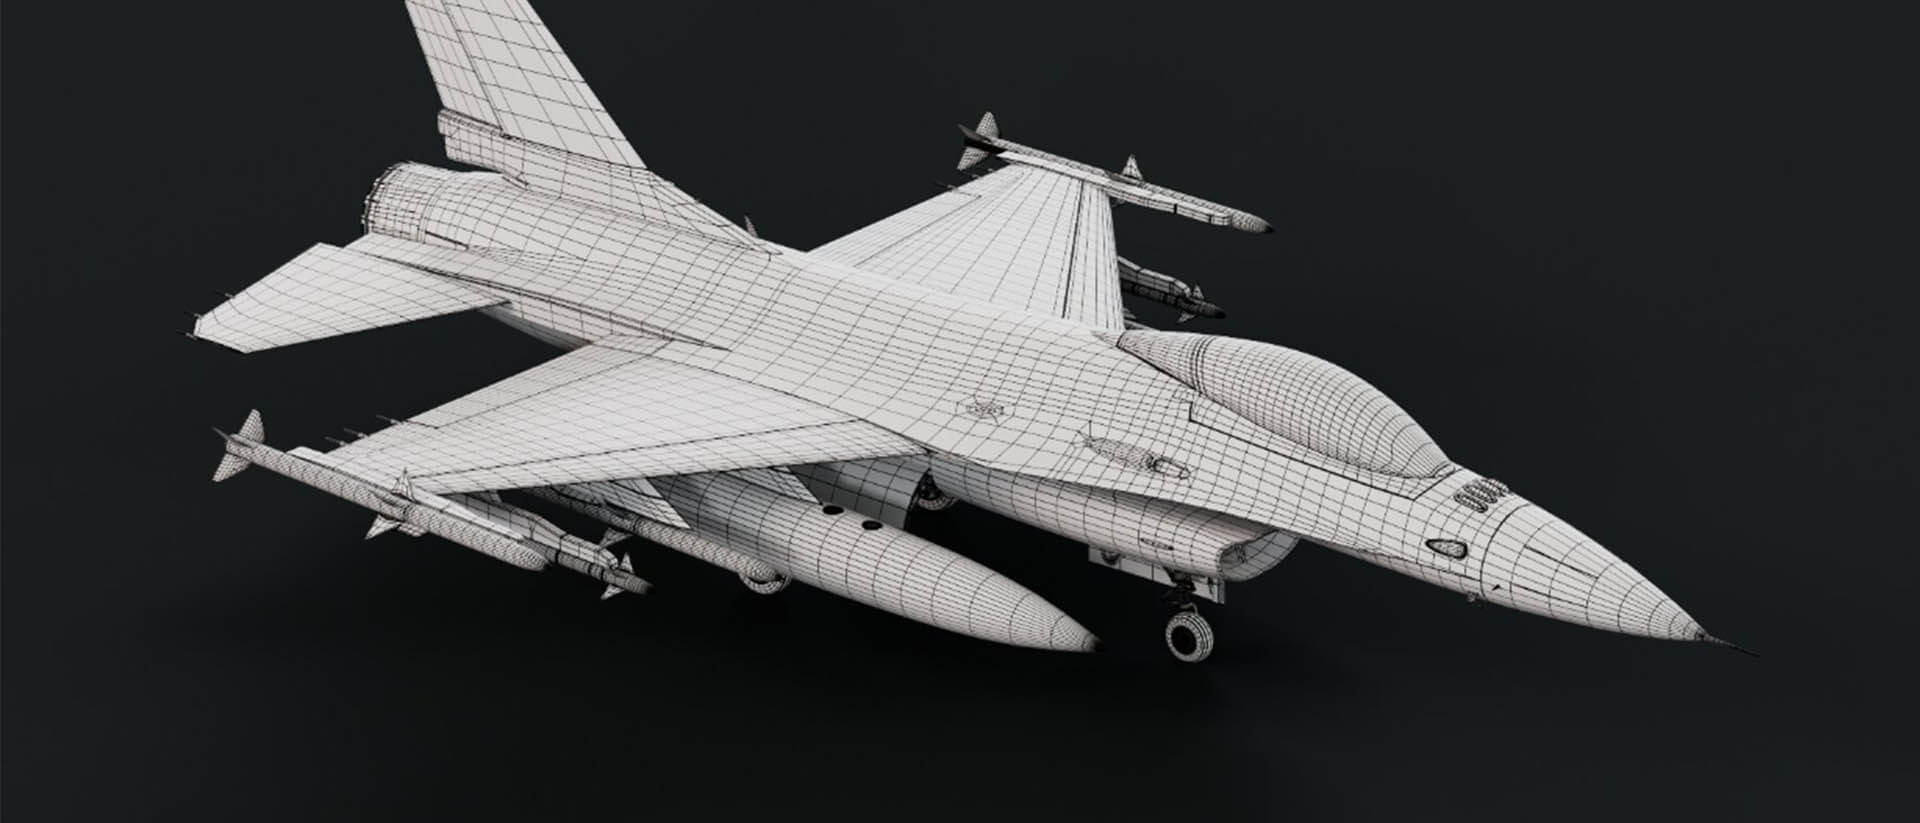
- Difference between OBJ (static models, basic geometry) and FBX files (more features, support for animated models)
- Importing 3D models and applying textures in Blender, Maya (V-Ray and Arnold), C4D (Redshift and Octane), and Unreal Engine
Understanding UDIM Textures
UDIM textures, or U-Dimensional textures, are a standardized method for managing texture tiles across applications, particularly useful for high-resolution assets. UDIMs give greater flexibility because each tile can be a unique resolution, enabling intricate details without the need for massive single texture maps. The UDIM workflow also saves artists time when importing textures because the software automates the texture-linking process.
Choosing the Right 3D Model Asset Types
Before diving into the technicalities, it's essential to understand the difference between OBJ and FBX file formats:
OBJ Files
Developed by Wavefront Technologies, OBJ files are ideal for basic geometry as they import as static 3D models. However, they don't support animations or complex materials.
FBX Files
Created by Autodesk, FBX is a versatile format suitable for both static and animated models. It supports textures, materials, lights, and even cameras.
Importing and Linking Textures in Different Software
Blender
Importing Models: Navigate to File > Import and select your asset type (FBX or OBJ) then choose the file to import.
Linking Textures: In the material properties tab, load and connect the “1001” UDIM texture maps (diffuse, roughness, normal, displacement) to the principled BSDF shader and set the tiling mode to UDIM Tiles.
Maya
Importing Models: Navigate to File > Import and select your asset.
Linking Textures: In the Hypershade editor, create an Arnold Standard Surface Shader then load and connect the “1001” UDIM texture maps to the shader and set the UV Tiling Mode to UDIM.
V-Ray in Maya
Importing Models: Navigate to File > Import and select your asset.
Linking Textures: In the Hypershade editor, create a V-Ray Mtl then load and connect the “1001” UDIM texture maps to the shader and set the UV Tiling Mode to UDIM.
Cinema 4D with Redshift
Importing Models: Navigate to File > Merge and select your asset.
Linking Textures: Create a Redshift Standard material then load and connect the “1001” UDIM texture maps to the shader and replace “1001” with “<UDIM>” for each texture.
Cinema 4D with Octane
Importing Models: Navigate to File > Merge and select your asset.
Linking Textures: Create an Octane Standard Surface material then load and connect the “1001” UDIM texture maps to the shader. Next, set the Grid Size, click Find Pattern, and lastly click Update/Reload.
Unreal Engine
Enabling UDIM Support: Enable virtual textures in project settings and restart Unreal.
Importing Models: Import your 3D model file.
Linking Textures: Import textures as virtual textures and apply them to your material using the material editor.
Watch the full tutorial for a detailed walkthrough on importing 3D models across various platforms. For more 3D models and an ever-growing library of 2D assets, explore our library!
Explore 3D models
Explore 2D VFX assets
Explore 3D models
Explore 2D VFX assets
Are you curious about what makes ActionVFX assets stand out? Check out our selection of free VFX elements and see the difference personally! We are committed to creating production-quality assets, and this extends to our free VFX elements and 3D models, so try them out!
Remember to connect with us on our social networks to stay updated on our latest news, giveaways, announcements, and more!
ActionVFX socials: